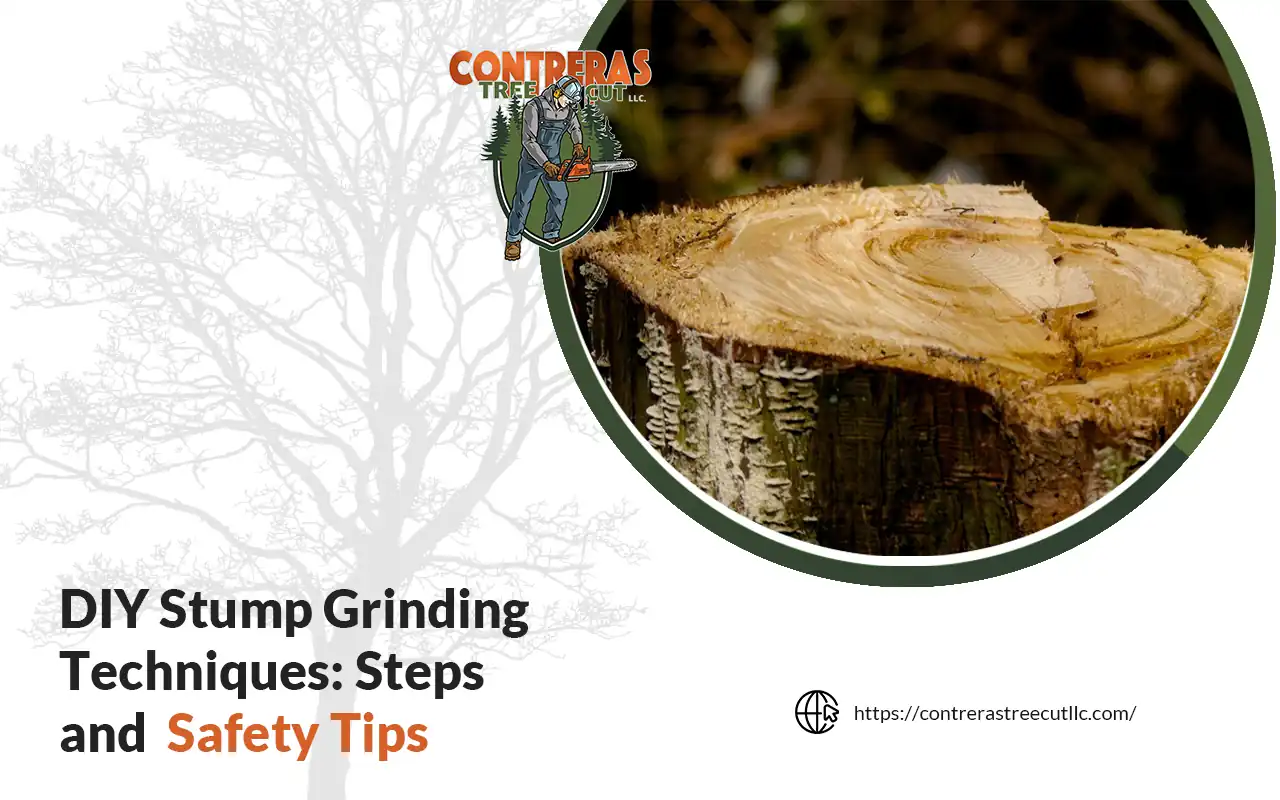
Ever tackled a troublesome tree stump in your yard? DIY stump grinding techniques can transform this daunting task into a manageable project. Imagine reclaiming your landscape, eliminating potential hazards, and enhancing your yard’s aesthetics!
This post will explore practical steps and crucial safety tips that will equip you to grind stumps effectively. Ready to take control of your outdoor space? Let’s dive into the techniques that can make you a yard care hero.

Mastering DIY Stump Grinding Techniques
Understanding the process thoroughly is crucial to handle DIY stump grinding effectively. Below, we outline essential steps, safety precautions, and tips to ensure your stump removal goes smoothly.
Preparing for Stump Grinding
Before you start, selecting the right tools is essential. For most home projects, a handheld stump grinder is sufficient. These machines are available for rent at local hardware stores. First, clear the area around the stump. Remove any rocks, debris, and loose dirt to prevent accidents or damage to the machine.
Safety First
When operating any heavy machinery, prioritizing safety is paramount. Equip yourself with essential safety gear: safety goggles, sturdy boots, thick gloves, and hearing protection are non-negotiable. Furthermore, secure the area—verify that no children or pets are nearby and set up a perimeter to keep bystanders safe.
The Grinding Process
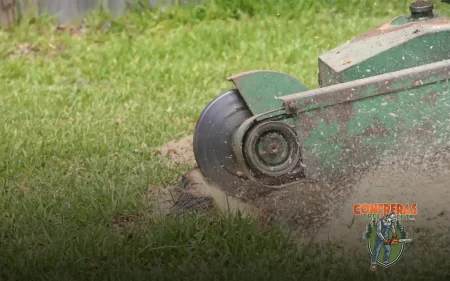
Begin by positioning the grinder directly over the stump. Then, start with the edges, slowly guiding the machine over the stump’s surface. Gradually, use the blade to chip away at the wood methodically. Subsequently, proceed with care, grinding the stump in layers to ensure complete and even removal. This step-by-step approach helps maintain control over the grinder and reduces the likelihood of errors.
Clearing the Debris
After grinding the stump down to a few inches below the ground level, focus on cleanup. Collect the resulting wood chips and consider repurposing them as mulch for your garden or as a natural path material. Clearing the area tidies your yard and prepares it for any new landscaping elements you might introduce.
Finishing Touches
Finally, fill the remaining hole with soil or a suitable filler material to level the ground. Consider seeding grass or planting a new shrub to integrate the spot seamlessly into the rest of your landscape. This restoration is crucial for maintaining the aesthetics and health of your yard.
Additional Tips
- Choosing the Right Time: Ideally, tackle stump grinding during dry weather, as wet conditions can complicate the process and pose safety risks.
- Maintenance Checks: Before each use, inspect your stump grinder for wear and tear to guarantee it operates efficiently and safely.
- Professional Help: For large stumps or those near critical infrastructure, consider consulting professionals to avoid hazards.
In conclusion, you can grind stumps yourself by following these steps safely, but it’s wise to seek professional help. Professionals ensure the job is done safely and effectively, improving the appearance and safety of your property. This not only preserves the quality of your landscape but also provides peace of mind.
Achieve Your Perfect Yard with DIY Stump Grinding
Removing a stump yourself is a commitment to enhancing your landscape’s beauty and safety, not just clearing wood. If you’re considering this task but want it handled professionally, contact us. We specialize in efficient and safe stump grinding, ensuring your property looks its best. Reach out today to see how we can help you!
Call us today and transform your yard into the sanctuary you deserve!


